As promised, I hauled out the tools for hand embossing, glad yet again of the Winnowing that made this a couple of minutes' search rather than a frenzied marathon of pawing through crates.
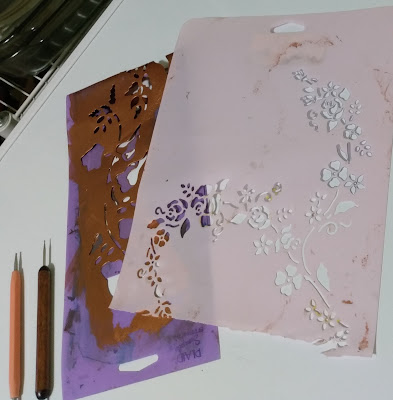
You need a light source, stencils, as Becki astutely remembered, and an embossing tool.
On the left here, that blue thing is a corner punch, a nice touch for handmade cards and books, gives a rounded corner, very posh.
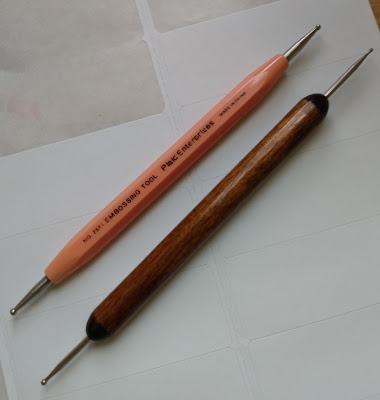
These tools are known to people who used them im the olden days to transfer Chartpak lettering, as ball burnishers. When you use them to emboss, they're embossing tools.
The advantage of having them is that each end is a different size, so you can choose according to the size of the openings you're drawing around. But other substitutes are fine, as long as they slide on the surface and don't stick.
The process can be as simple as taping to a window, creating your own stencils or just using commercial ones, and if you don't have a burnisher, a blunt knitting needle or even pencil will work. Kids like to use a pencil so they can see where they've been.
You can make this as original and elaborate as you want -- I've done embossing into large watercolors as part of the composition, using purpose cut cardboard stencils -- or you can do what I did here, and had a nice time doing, a couple of greeting cards.
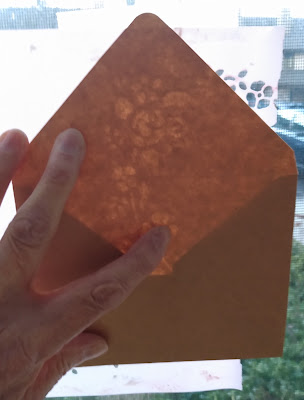
The procedure: tape your stencil to a light source, window, lightbox, whatever you're up for.
Then hold or tape your card/painting/paper/ envelope, whatever you're embossing, over the stencil.
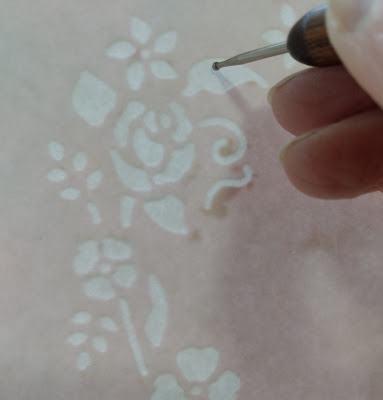
Now firmly run your embossing tool all around the inside of the openings. You need to apply enough pressure to make the image sink into the opening in the stencil. You only need to work on the edges. The center will follow without your touching it.
You need to remember that you're working from the back, and right to left for lettering, if you're embossing to get a raised image. If you really want an engraved, sunken, image, work from the front, lettering the usual left to right.
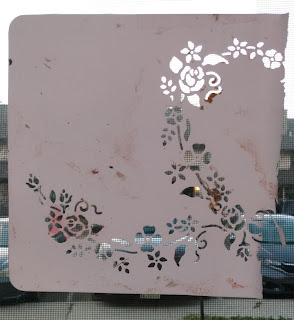
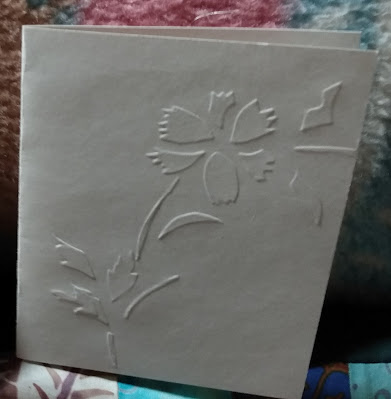
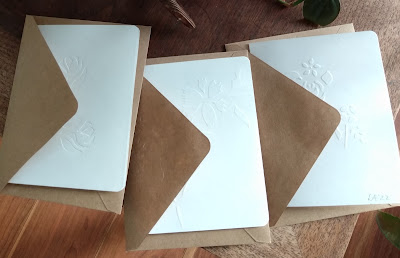
Here are both
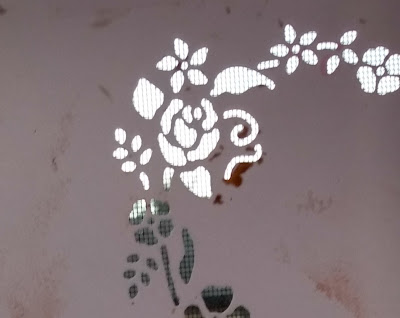
This one's embossed, raised
And this one's engraved, sunken

The back of each is the other. You can have an embossed front to a card, open it and on the left is the engraved image. And you can make use of this to make mixed images using both embossed and engraved in one composition.
So that's pretty much it.
It was good that this subject came up, because I had a sudden surprise visit yesterday afternoon from a friend I hadn't seen for years.
She threw my 80th birthday party, lovely person, the sister of the friend I helped care for with her in her final days at home. She, sister, Gary, all friends.
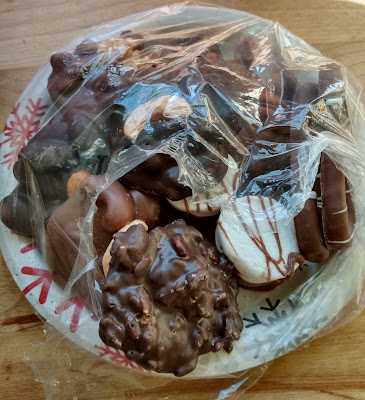
Anyway she came bearing home-dipped chocolates
Intended for Christmas, and finally got here.
So that requires a little thank you card, why not an embossed one. Timely. Plain unlined 8x5 cards are good for this.
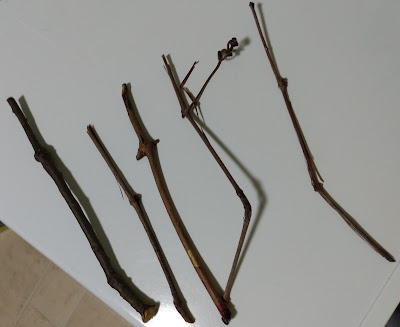
While I was looking for the burnishers, I came across these pens. I'm digressing here, as I tend to
I used to cut these from the wild grapevines growing behind the building I lived in, diagonal cuts to make two ends, dry them, and use them for drawing with ink I made from black walnuts, also growing out back.
This is what van Gogh used in his early drawings. I used to give them to my drawing students, with samples of the ink. So they had an authentic experience.
These are what Blake called rural pens in his Songs of Innocence, except his was a hollow reed. Same idea, also making his own ink, in the narrative. This whole background was very interesting to adult students, seeing the connections across arts and cultures and history.
Anyway, enjoy your embossing/engraving adventures if you give it a try.